Two best friends, baking and blogging across the miles

Monday, October 31, 2011

Put Some Pumpkin In It!

Lu!

Your next challenge is to combine pumpkin with one of your favorite flavors.....coffee, chocolate, peanutbutter.....what will it be?

Sunday, October 30, 2011

Candy Inspired Cupcakes!


So this post is very much overdue, and I especially know this because I made these cupcakes back when I was still wearing tank tops and shorts in the 90 degree weather back home, and am posting about it while snow sits on the streets and trees around my apartment up in MA. So many changes!

I had a great time making these cupcakes-there are so many decoration possibilities and flexibility which is what I really loved about this challenge. My family is also slightly obsessed with Almond Joys, which is why I find them tucked into all these random corners in our kitchen-we hide them from each other because otherwise you'd never get any! So my parents loved the cupcakes, I loved making them=winning!! ;)

I found this recipe on a great blog that did a series of candy bar inspired cupcakes. Definitely go check it out!


**Rachel's Next Challenge: Who doesn't love Rocky Road ice cream?! You're challenge is to bake something Rocky Road Inspired (cookies, cupcakes, anything!) Heres a recipe a friend of mine put on her own cooking blog if you want to try this.

Thursday, October 20, 2011

Conquering the Triple Threat

Lu challenged me to make a cake that featured three distinct layers. It took me some time to decide what cake I wanted to make and my ideas ranged from strawberry champagne to a mango pineapple peach conoction. I finally decided on.......

Triple Threat Cake (Peanut Butter, Banana and Chocolate) which I created from a hodgepodge of recipes in my Cupcakes cookbook, Better Homes and Gardens coobook and Hershey's website.

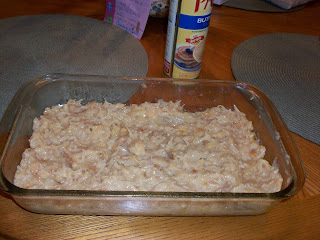
I baked the middle layer first so that by the time the first layer was cool enough to use I could begin cake assembly and by the time I was done with the first two layers the thrid would be cool enough to frost. Here are the recipes:

First Layer: Peanut Butter (adapted from Cupcakes)
Ingredients:
  • 4 tbsps softened butter
  • 1 1/8 cups packed brown sugar
  • 1/3 cup creamy peanut butter
  • 2 lightly beaten eggs
  • 1 tsp vanilla extract
  • 1 5/8 cups all purpouse flour
  • 2tsp baking poweder
  • 1/3 cup milk
1. Preheat oven to 350 F. Grease a round baking pan.
2. Beat butter, sugar and peanbut butter  together until well mixed and creamy.
3.  Add eggs one at a time, followed by the vanilla extract.
4. Stir in flour and powder, alternating with the milk.
5. Pour batter into cake pan and bake for 22 minutes or until toothpick comes out clean. Let cool.


Second Layer: Banana (BHG)
Ingredients:

  • 2 eggs
  • 2 1/4 cups all purpouse flour
  • 1 1/2 cups sugar
  • 1 1/2 tsp baking powder
  • 1 cup ripe mashed bananas (3)
  • 3/4 cup sour milk/buttermilk (I used milk and vinegar)
  • 1/2 cup shortening
  • 1 tsp vanilla

1. Let eggs stand at room temp for half an hour. Grease a baking pan and set aside.
2.Stir flour, sugar, baking powder, and baking soda.
3.Add bananas, milk, shortening and vanilla. Beat on low until combined.
4.Beat in eggs
5.Bake at 350 for 22 minutes or until toothpick comes out clean. Let cool.

Third Layer: Chocolate (adapted from Hershey's)
Ingredients:
  • 1 3/4 cup all purpouse flour
  • 3/4 cup cocoa powder
  • 8 oz sour cream
  • 1 tsp vanilla
  • 1 3/4 cup sugar
  • 1 1/2 tsp baking soda
  • 1 1/4 cup softened butter
  • 2 eggs
  • 1/8 cup milk
1.Stir together flour, sugar, cocoa, baking soda and salt in large bowl.
2.Add butter, sour cream, eggs, milk and vanilla; beat on medium speed of mixer 3 minutes.
3. Pour batter into prepared pan.  and bake for 30-40 minutes.

Frosting: PB Cream Cheese
Ingredients:
7 cups powdered sugar
2 softened bricks cream cheese
2/3 cups PB

Beat ingredients until smooth and fluffy.

Filling:
3 bananas, sliced
lemon juice

Thinkly slice bananas. Sprinkle with lemon juice. Place slices between layers.

If desired top with a chocolate ganache made from either cream and chocolate or butter and chocolate (butter will make it thickerr faster)

Rating? The usual bearer of baked goods at my husband's work declared me "Baker of the Month" and told Mike that I should open a bakery.  And the entire cake was eaten that day!

Sunday, August 7, 2011

Show me some layers!!!

This is somewhat unrelated...but this July marked the one year anniversary of how long I've been avoiding my hairdresser. I had never met a woman more destructive with a pair of scissors, and I wanted super long hair...so I just never went to get it trimmed. I was so afraid. Sadly, after a scorching summer I could no longer ignore the icky orange dried ends, so I succumbed and I kind of hate the "long layers" that I asked for :/

But hopefully Rachel can come up with layers that I'll love in her next baking challenge! Your task is to make a cake that has AT LEAST 3 separate, distinct layers. It can be any kind of cake you like, just show me the layers!! Good luck!

exps15069_BLC964165D5B.jpg

Thursday, July 14, 2011

No-Bake Blueberry Pie

This recipe comes from my dear friend Shelly/Lyric over at Life is a Many Splendored Thing.

I'll share her recipe with you but I have to postpone the picture because I made the pie before I want to bed, and my nephew ate the entire pie by morning so I didn't get the chance to take a picture.

You can subsitute homemade blueberry filling, like I did, since blueberries are in season. Basically you boil blueberries, a tad bit of flour or that clear gel stuff, water and sugar for a few minutes. I found that 2 containers of blueberries made enough for one pie. I think with homemade filling you get the soursweet taste of the fresh berries and I really like that

Makes 2 pies.

Fixins:

blueberry pie filling
tub of  whipped cream (can also make homemade)
2 graham cracker crusts (I always make mine)
1 cream cheese brick
1 bag of powdered sugar

Steps:

Make the crusts. Mix together the softened cream cheese and the sugar. Divide mixture between crusts. Top with berry filling. Chill for at least an hour. Top with half of the whipped cream. Garnish as desired.

Wednesday, July 13, 2011

No Bake # 9: I'll Have S'more Please!


So yeah...this no bake was a bit too easy that I feel like I'm cheating....But S'mores are so good!! These Indoor Peanut S'mores recipe came from Betty Crocker, and they were sooo good. Marshmallows are so much better melted, and I would argue this against anyone.


In life there are a lot of things (and people) that prove to be unreliable. Happily, this does not (and will never) apply to s'mores. They always come out perfect.

Tuesday, July 12, 2011

Rachael Ray Strikes Again: Whipped Strawberry Cheesecake

As I was posting this I started to worry that I was writing about a no-bake that Luisa had already posted. I got the idea from a list of Racheal Ray's favorite no-bakes and it contained strawberries, just like Lu's.

But I double checked. And they are different. Somewhat anyway.

Mix a small tub of whipped cream with 1-1.5 bars of softened cream cheese (I did 1 but it could have used a bit more). Add in 3/4 cup-1 cup (I dumped whatever sugar I had left in) sugar and about half a container of sliced strawberries. Either stir in a handful or two of chocolate trips or serve with a drizzling of chocolate syrup. (The chocolate was my addition)

Add in more strawberries, sugar and chocolate to taste.

Racheal Ray suggests scooping the dessert into icecream cones. We didn't try it that way  but I think it'd be really cute.

Monday, July 11, 2011

No Bake # 7: A Berry Delicious Coffee Break!


I tease my mother a lot because her picture should be in the dictionary next to "coffee addict". She's been drinking coffee since before she can even remember (possibly still in diapers and from the bottle, i'm guessing) and she HAS to have at the very least 4 cups a day at very specific times. It's nuts...and what's scary is that the longer I live at home the more I find myself falling into this pattern myself. So, in honor of my mother's obsessive love affair with coffee, I made a Berry Delicious Coffee Cake to give her and her coffee mug some company every time she indulges...which is really all the time.


The recipe is very simple (the way I like it!) and very fast. I'd suggest putting more graham cracker crumbs if you want an actual crust at the bottom, but otherwise it tasted really nice, the flavor in mine seemed to all be at the bottom, so the last bites were moist and sweet. I also added a lot more fruit than suggested, but that's never a bad thing in my opinion.

My mom seemed to like the cake, and in spite of the teasing I hope it encourages her to keep her coffee habit up, because she really is quite unpleasant when she doesn't get it ;) love you mom!

Friday, July 8, 2011

No Bake #6: Piss Poor Planning Plus Popcorn

Ok so I don't know what possessed me to think that this no-bake could possibly be a good idea. First I'll tell you why I think it failed and then I'll give you the link to the orginal source.

1. I attempted to make something similar and while it was delish it was a disaster.
2. I attempted to mix hot popcorn and hot marshmallos together with my hands. Despite only minor burning sensations it took me a good while to destickify my self. It looked like I had massive worts all over my hands.
3. I didn't have all of the suggested ingredients and even attempted to pick the peanuts out of my chex mix to make up for it.
4. I like my popcorn salty and sprinkled with chocolate chips (occasionally), not room temperture and stale.
5. No one like stale popcorn.
6. I didn't have a bundt pan so I decided to make bars instead of a "popcorn cake" as suggested and forgot to grease the pan. Enter another disaster. But hey, weren't some foods invented "on accident"?

Anyway, you can find the recipe  HERE. I subbed in pastel colored marshmallows for the regular ones. They were on sale for like a quarter a few days after Easter while the Christmas themed marshamllows were still two bucks. Maybe people buy them year round? Can you imagine roasting Santa over the campfire. You'd be first in line for a lump of coal.

I also subbed a handful of chocolate chips for the m&ms, which I think the whole idea behind them is you get chocolate that doesn't melt as much. Whoops.

Anywhos, I present to you my popcorn "cake"


Maybe this wouldn't be such a bad idea if you had leftover popcorn from the night before, but it was definitely a waste of a good bag of popcorn. Actually, it expired in December as I bought it at a bend and dent for about a nickel, but the bag I had a few nights ago tasted fine. Well, I didn't really contribute much in the way of a usable recipe but I hope you got a good laugh of out of my misadventures.

Thursday, July 7, 2011

Baking Challenge # 5: No Bake Baked Apples...and Rum??!


I had braces for over a year and half, and sadly one of the most “dangerous” foods on the no eat list was caramel apples. This was tough, especially since I had my braces through the State Fair, and that’s usually the only time I really get to indulge in my favorite carnival foods, including caramel apples! Sigh…but thankfully this summer I’m brace free, and this no bake recipe is a neat variation of the caramel apple, along with one of my (and Rachel’s….and Captain Jack Sparrow’s) favorite things in the world…Rum!!


These Baked Apples with Rum-Caramel Sauce are a Betty Crocker Recipe and they were very easy to make. The only slight difficulty I had was coring the apples…my mother has this intense apple corer that looks like a weird surgical tool. There must be something simpler out there, but I don’t really bake with apples that often so I don’t know if that would be worth the investment.
The result: magnificent! Tastes just like apple pie! The rum has a nice subtle taste. I only had a little bit of ice cream left, so I used whipped cream, which was okay but the ice cream was way better! Also, kind of difficult to eat because the skin gets tough, so I’d probably get rid of the skin next time. In all, really nice, not too sweet treat!

Wednesday, July 6, 2011

It's a Peachy Keen No Bake!

On my quest for no bake recipes I came across a microwave peach cobbler. I love peach cobbler, and I hate heating up my house in the summer time, so this recipe seemed like the perfect one to try out!

I found the recipe at.cdkitchen. It only makes one serving so multiple the ingredients by the number of people you want to feed.

Ingredients are simple enough:


Steps:

Coarsely crumble graham crackers into a microwave safe glass dessert cup. I used one of the margarita glasses luisa brought me back from Espana.


Then top with butter, then sliced peaches. Sprinkle with cinnamon and sugar. I mixed them together before sprinkling.

Microwave on high 2-4 minutes and if you're in the mood top with whipped cream or a dainty scoop of vanilla ice cream. I wasn't in the mood. Actually, I was out of whipped cream and the ice cream was freezer burnt. Fun stuff.


The verdict? AMAZING. BEST NO BAKE EVER. Tastes just like the real thing.

Oh, here's a freebie for you:

Have you ever had grilled peaches?

Peel and quarter a peach, stick it on the grill for a few minutes. Remove from grill, plate and sprinkle with brown sugar. MMM!

Tuesday, July 5, 2011

No Bake Challenge 3: When Life Gives You Lemons...Make Lemon Bars!


So my family and I are going to a trip at the end of the week to Savannah, followed by a few days to Myrtle Beach, and we are in need of some snacks=perfect time to try this recipe I found for No Bake Lemon Bars!
The recipe included coconut, something my dad takes very seriously (as expected, he ate about 90% of the bars!) They weren’t as solid as I would have liked, but I’m finding that’s a trend with these no bake endeavors…This might have had to do with the fact that I couldn’t find tea biscuits at Food Lion, so I just subbed in vanilla wafers…you work with what you got! They were still good though. The lemon taste just POPS, which I love because sometimes when I make lemony baked goods, you get a hint of the taste of lemon but that’s it…what a disappointment! I would, however, appreciate tips on the best ways to zest a lemon…I usually use one of the smaller sides of a cheese grater, but so much lemon skin gets stuck in that thing!! Also, in the future I think I might toast the coconut flakes first, because I do wish they hand a more crunchy, solid feel to them.
The ingredients and directions are below!
Ingredients
1/2 cup butter
1/2 cup sweetened condensed milk
1 lemon, juiced and zested
1 1/2 cups tea biscuits, crushed (or vanilla wafers, in this case)
1 cup flaked coconut
Directions
In a small saucepan over medium heat, melt together butter and sweetened condensed milk, stirring frequently until smooth. Stir in crushed biscuits, lemon juice and zest, and coconut; mix well. Press into a 9x9 inch dish. Refrigerate overnight before slicing or the squares will come out sticky


Monday, July 4, 2011

Say Yes to No!

Peabut butter no bake cookies that is.

As soon as I mentioned to my husband that Lu and I would be running a "no bake" series he immediately asked for peanut butter no bakes. My husband never asks for or eats sweets so I knew that if these cookies were something he wanted that they had to be good.

Fortunately for him I saved a recipe that I found at The Girl Who Ate Everything. Unfortunately for him, the recipe I planned didn't turn out quite so hot.

Here's what happend.

Ingredients:
1/2 cup (1 stick) butter
2 cups white sugar
1/2 cup milk
3 cups quick cooking oats
2/3 cup creamy peanut butter
1 teaspoon vanilla

Instructions:

Bring butter, sugar, milk, and cocoa to a boil for one minute. To make sure cookies set up properly wait until mixture comes to a complete FULL boil and then start the timer for one minute. Remove from heat.

Add peanut butter, vanilla, and oats. Stir well and drop spoonfuls onto waxed paper or parchment paper. Let them set up and cool.

Problem?

I did all of this- and made sure the ingredients vame to a full boil. Hours later I  gave up and put them in the thr fridge. They set up and we ate them,  but the cookies I took out of the fridge went right back to their gooey state. So we kept them in the fridge and ate them out of there.

Does anyone know what happened?

Thursday, June 30, 2011

No Bake Challenge 1: “Strawberry Fields Forever!!


Now, I don’t really like Rachael Ray, for a variety of reasons: her voice (which I know has gotten better, but before I would have rather sat through nails on a chalkboard), and just because she seems a bit frantic when she cooks…I watch cooking shows to be relaxed, but when I watch her I feel like I have an exam to study for! However, when I stumbled upon this super easy recipe for Individual No Bake Strawberry Cheesecakes, I had to give her some credit! Not only does in require a minimal amount of ingredients, most of which I already had, but it leaves a lot of room for flexibility and they were the perfect treat on a hot summer day!
The only thing I would caution about the recipe is that the end product isn’t exactly “cheesecakey”, or rather that at least in my case the mixture was still runny. I did incorporate a box of strawberry Jello, as one of the reviewers had suggested, and while it did make it thicker, it was still way too liquidy to have a cheesecake texture. So I left it in the fridge for a few hours too, and that did the trick! So, don’t expect it to be super solid at first! However, it was very tasty, and I loved being able to use the mini graham cracker crusts-too cute! I also used these cute little dessert dishes my mother bought at Pier 1, and sprinkled graham cracker crumbs on top. See?! So much room for your own touches!


Enjoy making these lovely, simple treats! I sure did!

Sunday, June 5, 2011

Prepare for a Meltdown

Get ready!
Lu and I will be hosting a ten recipes series focusing on no bake recipes.
With it lingering in the high 80's in PA and hitting the low 100's in good ole SC, no one wants to run their oven and heat up the house. (At least I don't, as we don't have AC!!) We'll be showcasing sweet treats that you can make while still beating the summer heat! The series will start in July so until then please feel free to share your favorite nobake treats with us!

Lu's Next Challenge

 So, Miss Lu, your next challenge is to make a cake or cupcake inspired by the flavors of a candy bar. And no, sprinkling snickers bits on top or inbetween layers doesn't count. Think about the flavors and actually make them into the dessert. Happy baking!

Saturday, June 4, 2011

My Big Fat Greek...Baking Challenge!

Lu: Well look at this!! A lovely visit from my HotGlue culminated in one of our more difficult baking challenges, which was learning how to make baklava!
Rachel: Lu considered making baklava when I gave her the challenge to make something that begins with the letter b, I wanted to learn the skill and had amazing baklava on my first trip to Pittsburgh. So Lu found an easy recipe for us to follow and we each brought some ingredients to the table.
Lu:The recipe we followed was by Michael Symon and can be found here:
Something to keep in mind when brushing the phyllo dough: make sure to keep the sheets moist! We did this by putting a damp towel on them, because if they dry up they tend to crumble easily. Also, the recipe calls for 4 sticks of butter, but we only used 3 and were just fine.
Rachel: Shelling the pisachios was annoying, but not hard and the rest of the recipe seemed to go fairly well. (Although, thats easy for me to say because Lu seemed to do most of the work). I loved that Raul thought the baklava was yummy and ate several pieces. I bought some home for Mike and he said that he wasn't the best he'd ever had (I think he had some in Europe) but that it was up there
Lu: Haha...that's one thing I learned from this recipe...always remember to read the ingredients in detail!! If I had noticed it said ground nuts we could have saved a bit of time! Nevertheless, it was still a lot of fun. And of course it was the best way to celebrate our reunion!!


Tuesday, May 3, 2011

Why is the RUM always gone!!

**Tip: Pick a good Rum! I used what I had,but I bet a Bacardi Rum would work best


My most recent baking challenge was to create cupcakes inspired by a drink, and to also decorate them the way the drink would be presented. This was a toughie because there were a billion fruity drink cupcakes I wanted to make (strawberry daquiri, pina colada)but alas...I'm functioning on the poor college student's budget. So I was lucky enough to stumble upon a really great cupcake recipe inspired by an equally wonderful drink that I had all the ingredients for! This drink is my wingman at the bar, the
first drink I order almost every time I go out, because it's a nice simple starter and always puts
me in a good mood=the Cuba Libre, also know as the Rum & Coke!
"Cuba Libre" means "Free Cuba" in Spanish, and I'm no history buff but I thought it was pretty neat that the origins of the drink are said to have come from during the Spanish-American War in...you guessed it...Cuba. Legend has it that a soldier ordered the drink for the first time and enjoyed it so much that they rallied together and toasted with the phrase "Por Cuba Libre!", which was the battle cry they used in their war for independence. The variation between the Carribbean Cuba Libre and the American Rum & Coke is that the Carribbean version usually always includes lime juice and lime, while in the US it's optional.
These cupcakes were a delight to make, and they disappeared so fast!

You can find the blog I found the recipe on here: http://www.coconutandlime.com/2007/01/cuba-libre-cupcakes.html

The only problem I encountered with these cupcakes: the dipping in the middle! I just don't know how to fix this! I've consulted baking websites who say it can be a variety of things: overmixing, undermixing, too much butter/heavy ingredient in the batter, opening the oven too early, the oven being too hot, etc...:( if anyone has any advice let me know!


The Cream Cheese Rum Chocolate Frosting was amazing! I didn't leave the cream cheese out long enough so it was lumpy at first, but a quick 10 secs in the microwave fixed that. Also, note the convenient Coca-Cola bowl ;)


And here are my baby Cuba Libre cupcakes!!!


Saturday, April 23, 2011

Savoury Scones

Lu challenged me to make something that orginated somewhere fabulous. I've been missing Scotland and the carefree feeling I associate with my time there. I had every intention of making scones and was debating between lemon blueberry and chocolate cherry, when a recipe for bacon scones from Brown Eyed Baker landed in my inbox.

Here's the recipe:

3 cups all-purpose flour
1 Tbsp. baking powder
1 stick chilled unsalted butter, cut into small cubes
1 1/2 cups grated cheddar cheese
4 green onions, thinly sliced
10 slices bacon, cooked and chopped into 1-inch pieces
3/4 to 1 1/2 cups buttermilk*
1 large egg
2 tsp. water

*I used lemon juice mixed with 2%milk instead of buttermilk

Cook the bacon. When it cools tear it into one inch pieces.


Mix the flour and baking powder and cut in the butter until the chunks aren't any bigger than peas.


Stir in the cheese, onions and bacon pieces.
Add the buttermilk until the dough sticks  to itself. Roll into a ball and put it on a floured surface. Roll the ball out until it is in a circle about 8 inches wide and (most importantly I think) 1/2 inch thick. My circle was about 12 inches wide but was 1/2 inch thick.

Cut into 8-10 wedges and coat with the eggwash made from the whisked egg and water.


Bake on parchment paper or a silicone mat for 15-22 minutes. Mine took 15 minutes. They should be lightly brown on top and not sticky in the middle.  I tested mine with a toothpick.


I think these were fantastic and I definitely want to make them again. I made them for us to have for a quick breakfast tomorrow (Easter) before driving to my sister in law's church but I ate 1.5 of them tonight!

They have a wonderful flavor and texture. I guess its the egg wash that gives them a the wonderful, yet slighty eggy taste? Whatever it is, it adds the perfect touch!

HOTGLUE: Hurry up and make your cupcakes chica! And let  me know when you've got another challenge for me!

Monday, April 4, 2011

Holy Cannoli!!

Less than 50 days until graduation, but with this workload I'd rather be anywhere else but here...somewhere warm, exotic, with good looking men and even better looking desserts! Rach, I bet you agree, so your next challenge is to make a treat that originates in any one of these wonderful, foreign places. Cannolis from Italy, Croissants from France, Baklava from Greece, Flan from Spain, Scones from Scotland! Anything from somewhere beautiful, so that we can live vicariously through our taste buds. Good luck!

Friday, April 1, 2011

pop Pop POP!

Tarts, that is.
I thought I would try my hand at making a homemade version of a yummy breakfast treat. I had lovely pictures and guidance from Brown Eyed Baker. However, mine did not turn out quite as picturesque. Rather, they had the crumply look of biscuits. However, they tasted fabulous! I made strawberry but now I want to experiment with other flavors, like peach and nutellaa and of course, chocolate peanutbutter banana.
Here's what happened:
First, I couldn't open the new jar of strawberry jam we bought from the Amist store, so I waited for Mike to wake up from his nap and open it for me. Husbands sure are handy. ;)
I combined two tablespoons of flour with 1 tablespoon of water and 3/4 cup of the abovementioned jam in a saucepan. I brought it to a boil and let it simmer for two minutes and stired frequently. I then let it cool down.
While the jam mixture was cooling I mixed together 2 cups of flour and 1 tablespoon of sugar. I worked in two sticks of salted butter with knives, until the chunks were pea size. I whisked together an egg and 4 tablespoons of milk, and added it to the bowl. I kneaded the dough togehter and divided it in half.  I rolled out one piece of the dough and cut it into 7 rectangularish shapes, though the recipe called to make 9.
I put them on the pan and spooned filling onto each piece, trying to leave a 1/2 inch on each side. I rollded out the second part of the dough into 7 of the same size/shape pieces and placed them on top, pressing the edges together.
I let the pastries sitt in the fridge for 3 minutes, uncovered, and then cooked them 25-30 minutes at 350F. I then ate one, scalded my tongue and forgot to take a picture of the final result.
But trust me, they were fabulous.
LU--- Your next challenge is to make, and decorate a cupcake that tastes like a cocktail/drink Will you  choose a margarita? pina colada? strawberry daquiri? dr pepper? Can't wait to find out!

What to do with leftover mango flavored cream cheese icing?

This question has tormented me since I made the mango cupcakes. I tossed around the idea of making mango cinnamon rolls, but figured I would get stuck eating them myself. Then, I found out we would be having company for dinnner Friday night so I decided to make an Amish Cake, top it with the frosting instead of brown sugar and nuts, and then pipe whipped cream and fruit along the base of the cake.The cake was simple to bake, and frost. But I totally should have left the whip cream off the edges. It totally didn't pipe out of the bag in lines, but in clumps, so it looked really sloppy. And I didn't fully read the iced the cake recipe, until after I'd iced the cake, so I didn't realize that it was best served warm. Whoops!
Amish Cake
1/2 cup butter2 cup brown sugar2 cup buttermilk2sp baking soda2 tsp vanilla3 cup flour
Cream together butter and brown sugar.Add buttermilk, baking soda, vanilla and flour. Bake for 40 minutes at 350F in a greased pan.
The recipe goes on to suggest mixing together6 tbsp melted buter4 tbsp milk1 c brown sugasr3/4 favorite nuts
and then putting it ontop of the cake and baking an additional 10 minutes or until bubbly

Thursday, March 31, 2011

B is for Boston...Cream Pie!

For the past few weeks my mind has been plagued with making graduate school decisions. Where I want to go, where I don't, and sending out many letters with these decisions. It hasn't been very easy, as all these decisions entail leaving my loved ones and everything that is familiar to me. At the same time, I feel a sense of excitement when I think about all the goods things that await me, no matter where I'll be. And in the past few days, the school that I applied to in Boston has definitely been the frontrunner. It's a great school in a great place, and when my dad and I went to visit I loved everything about it: the history, Irish pubs on every corner, and the beautiful harbor. So, in honor of my (maybe) new home in the fall, I made Boston Cream Pie!
I found this recipe on a Paula Deen forum, adapted from a Paula Deen recipe for BCP cupcakes
Ingredients
-1 box of yellow cake mix, 1 1/2 cups of heavy whipping cream, 1 small box of instant vanilla pudding mix, 1/2 cup confectioners' sugar, 1/2 cup milk, 1/4 cup sour cream
Chocatate Ganache:
-6 1 oz. squares of bittersweet chocate, 3/4 cup heavy whipping cream, 2 cups confectioners sugar
Directions:
1. Mix and bake 2 round cakes according to directions on the box. Cool completely.
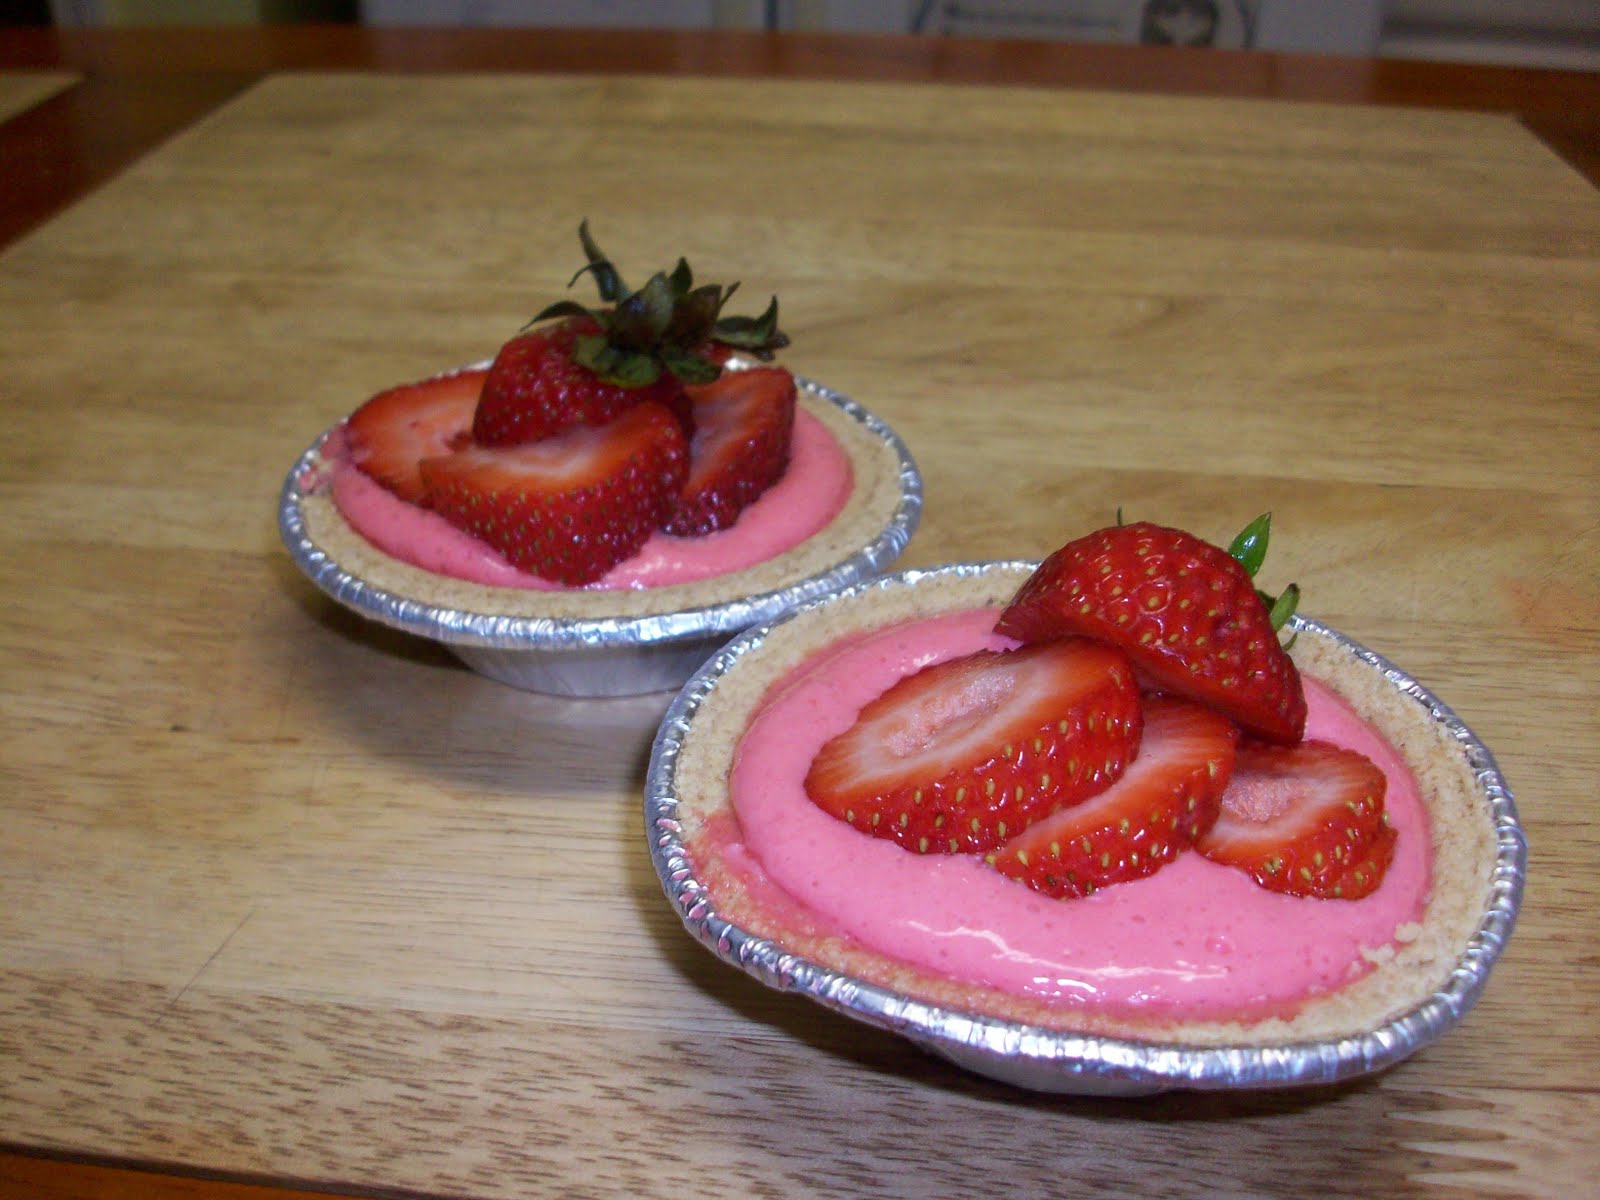
2. In a large bowl mix together pudding, whipping cream, sugar, milk and sour cream. Beat at medium speed until you get stiff peaks. Consitency shoud be that of thick pudding.

3. Cut top off one of cakes to get flat surface. Cover top of cut cake with filling and put second cake on top.

4. Make the chocolate ganache: use double boiler and melt chocate and cream together. Stir regularly so chocolate won't burn. Once smooth whisk in sugar and continue until smooth. Put ganache in fridge until it is spreadable consistency (about 30 mins)
5. Spread ganache on cake and store in fridge.

This was surprisingly easy to make! My only issue was that the second cake, the one on the top, craked in the middle when I placed it on there, but that's something I think I could have fixed with a different kind of cake mix (maybe less moist) or more careful handling. The amount of chocolate ganache the recipe made was also a bit more than I expected, but when we ate the dessert it wasn't overpowered by chocolate. In all, a very successful venture. Now if only understanding Boston accents was as easy...