Two best friends, baking and blogging across the miles

Tuesday, July 5, 2011

No Bake Challenge 3: When Life Gives You Lemons...Make Lemon Bars!


So my family and I are going to a trip at the end of the week to Savannah, followed by a few days to Myrtle Beach, and we are in need of some snacks=perfect time to try this recipe I found for No Bake Lemon Bars!
The recipe included coconut, something my dad takes very seriously (as expected, he ate about 90% of the bars!) They weren’t as solid as I would have liked, but I’m finding that’s a trend with these no bake endeavors…This might have had to do with the fact that I couldn’t find tea biscuits at Food Lion, so I just subbed in vanilla wafers…you work with what you got! They were still good though. The lemon taste just POPS, which I love because sometimes when I make lemony baked goods, you get a hint of the taste of lemon but that’s it…what a disappointment! I would, however, appreciate tips on the best ways to zest a lemon…I usually use one of the smaller sides of a cheese grater, but so much lemon skin gets stuck in that thing!! Also, in the future I think I might toast the coconut flakes first, because I do wish they hand a more crunchy, solid feel to them.
The ingredients and directions are below!
Ingredients
1/2 cup butter
1/2 cup sweetened condensed milk
1 lemon, juiced and zested
1 1/2 cups tea biscuits, crushed (or vanilla wafers, in this case)
1 cup flaked coconut
Directions
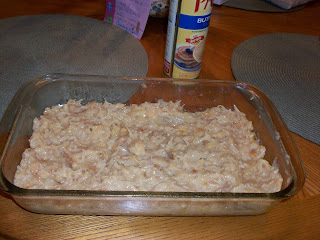
In a small saucepan over medium heat, melt together butter and sweetened condensed milk, stirring frequently until smooth. Stir in crushed biscuits, lemon juice and zest, and coconut; mix well. Press into a 9x9 inch dish. Refrigerate overnight before slicing or the squares will come out sticky




Monday, July 4, 2011

Say Yes to No!

Peabut butter no bake cookies that is.

As soon as I mentioned to my husband that Lu and I would be running a "no bake" series he immediately asked for peanut butter no bakes. My husband never asks for or eats sweets so I knew that if these cookies were something he wanted that they had to be good.

Fortunately for him I saved a recipe that I found at The Girl Who Ate Everything. Unfortunately for him, the recipe I planned didn't turn out quite so hot.

Here's what happend.

Ingredients:
1/2 cup (1 stick) butter
2 cups white sugar
1/2 cup milk
3 cups quick cooking oats
2/3 cup creamy peanut butter
1 teaspoon vanilla

Instructions:

Bring butter, sugar, milk, and cocoa to a boil for one minute. To make sure cookies set up properly wait until mixture comes to a complete FULL boil and then start the timer for one minute. Remove from heat.

Add peanut butter, vanilla, and oats. Stir well and drop spoonfuls onto waxed paper or parchment paper. Let them set up and cool.

Problem?

I did all of this- and made sure the ingredients vame to a full boil. Hours later I  gave up and put them in the thr fridge. They set up and we ate them,  but the cookies I took out of the fridge went right back to their gooey state. So we kept them in the fridge and ate them out of there.

Does anyone know what happened?

Thursday, June 30, 2011

No Bake Challenge 1: “Strawberry Fields Forever!!


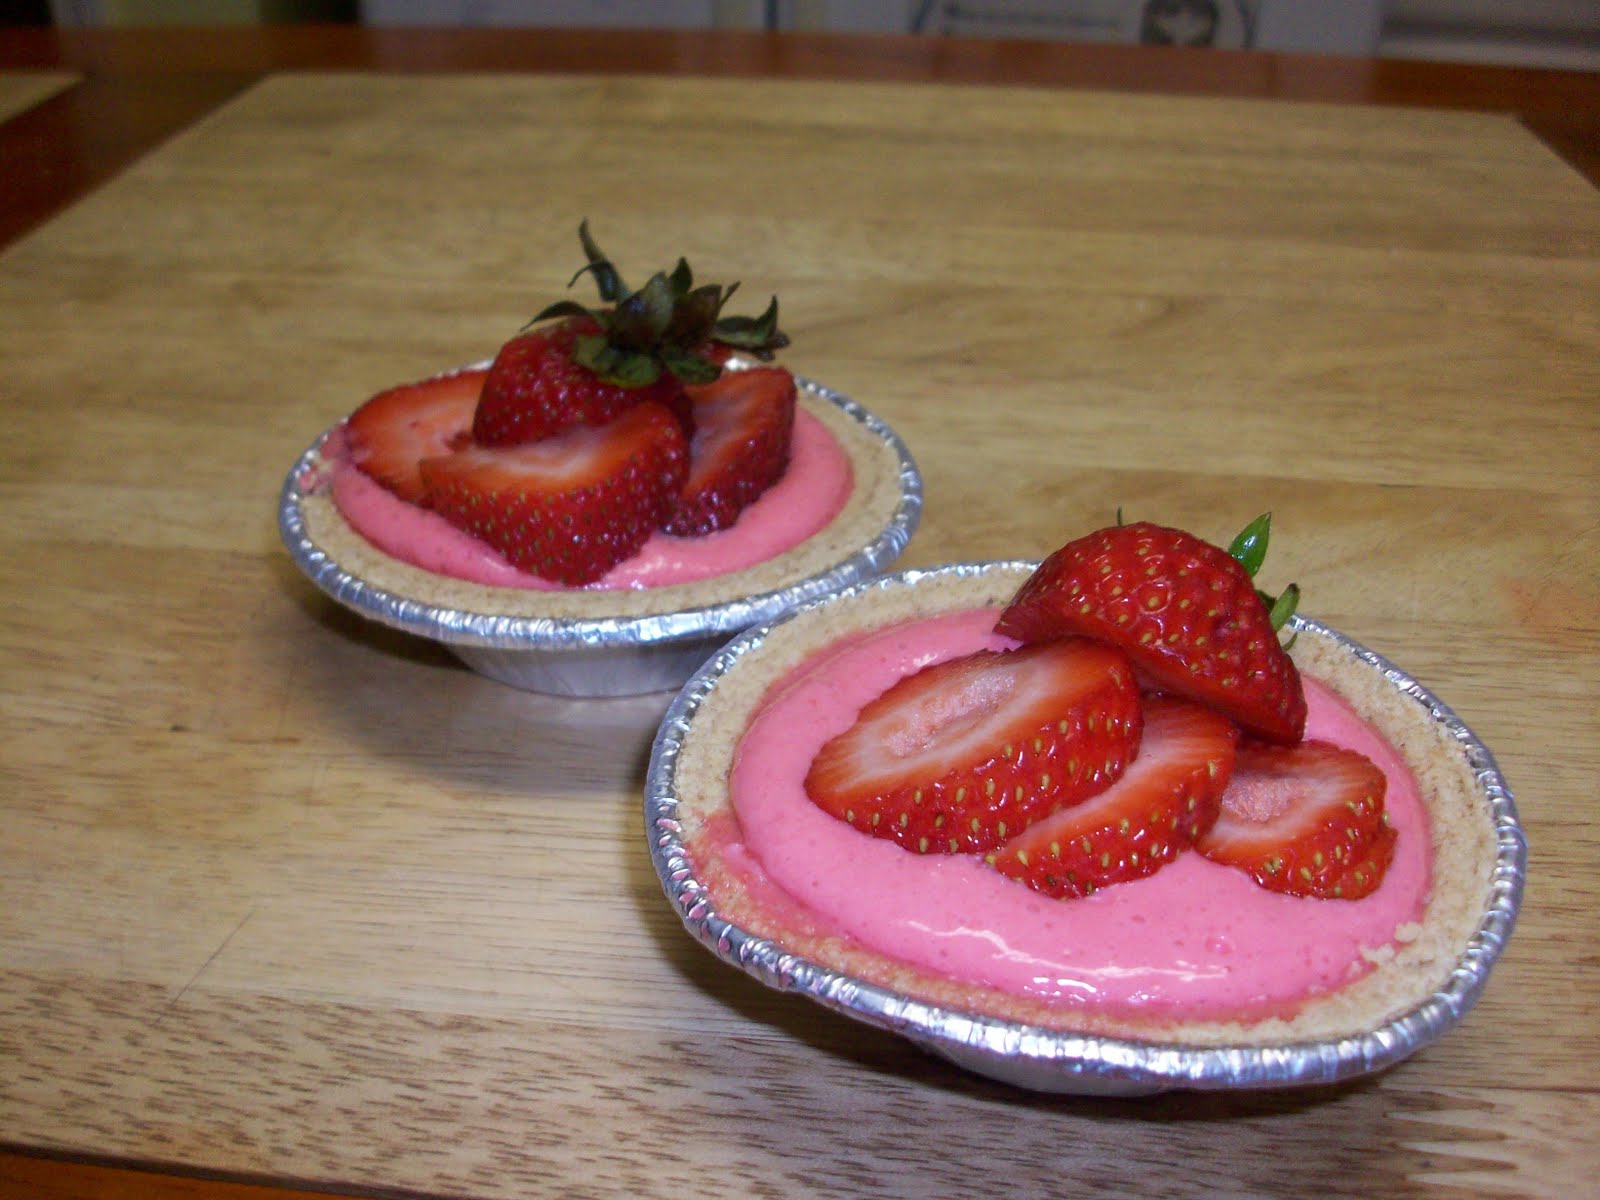
Now, I don’t really like Rachael Ray, for a variety of reasons: her voice (which I know has gotten better, but before I would have rather sat through nails on a chalkboard), and just because she seems a bit frantic when she cooks…I watch cooking shows to be relaxed, but when I watch her I feel like I have an exam to study for! However, when I stumbled upon this super easy recipe for Individual No Bake Strawberry Cheesecakes, I had to give her some credit! Not only does in require a minimal amount of ingredients, most of which I already had, but it leaves a lot of room for flexibility and they were the perfect treat on a hot summer day!
The only thing I would caution about the recipe is that the end product isn’t exactly “cheesecakey”, or rather that at least in my case the mixture was still runny. I did incorporate a box of strawberry Jello, as one of the reviewers had suggested, and while it did make it thicker, it was still way too liquidy to have a cheesecake texture. So I left it in the fridge for a few hours too, and that did the trick! So, don’t expect it to be super solid at first! However, it was very tasty, and I loved being able to use the mini graham cracker crusts-too cute! I also used these cute little dessert dishes my mother bought at Pier 1, and sprinkled graham cracker crumbs on top. See?! So much room for your own touches!


Enjoy making these lovely, simple treats! I sure did!

Sunday, June 5, 2011

Prepare for a Meltdown

Get ready!
Lu and I will be hosting a ten recipes series focusing on no bake recipes.
With it lingering in the high 80's in PA and hitting the low 100's in good ole SC, no one wants to run their oven and heat up the house. (At least I don't, as we don't have AC!!) We'll be showcasing sweet treats that you can make while still beating the summer heat! The series will start in July so until then please feel free to share your favorite nobake treats with us!

Lu's Next Challenge

 So, Miss Lu, your next challenge is to make a cake or cupcake inspired by the flavors of a candy bar. And no, sprinkling snickers bits on top or inbetween layers doesn't count. Think about the flavors and actually make them into the dessert. Happy baking!

Saturday, June 4, 2011

My Big Fat Greek...Baking Challenge!

Lu: Well look at this!! A lovely visit from my HotGlue culminated in one of our more difficult baking challenges, which was learning how to make baklava!
Rachel: Lu considered making baklava when I gave her the challenge to make something that begins with the letter b, I wanted to learn the skill and had amazing baklava on my first trip to Pittsburgh. So Lu found an easy recipe for us to follow and we each brought some ingredients to the table.
Lu:The recipe we followed was by Michael Symon and can be found here:
Something to keep in mind when brushing the phyllo dough: make sure to keep the sheets moist! We did this by putting a damp towel on them, because if they dry up they tend to crumble easily. Also, the recipe calls for 4 sticks of butter, but we only used 3 and were just fine.
Rachel: Shelling the pisachios was annoying, but not hard and the rest of the recipe seemed to go fairly well. (Although, thats easy for me to say because Lu seemed to do most of the work). I loved that Raul thought the baklava was yummy and ate several pieces. I bought some home for Mike and he said that he wasn't the best he'd ever had (I think he had some in Europe) but that it was up there
Lu: Haha...that's one thing I learned from this recipe...always remember to read the ingredients in detail!! If I had noticed it said ground nuts we could have saved a bit of time! Nevertheless, it was still a lot of fun. And of course it was the best way to celebrate our reunion!!


Tuesday, May 3, 2011

Why is the RUM always gone!!

**Tip: Pick a good Rum! I used what I had,but I bet a Bacardi Rum would work best


My most recent baking challenge was to create cupcakes inspired by a drink, and to also decorate them the way the drink would be presented. This was a toughie because there were a billion fruity drink cupcakes I wanted to make (strawberry daquiri, pina colada)but alas...I'm functioning on the poor college student's budget. So I was lucky enough to stumble upon a really great cupcake recipe inspired by an equally wonderful drink that I had all the ingredients for! This drink is my wingman at the bar, the
first drink I order almost every time I go out, because it's a nice simple starter and always puts
me in a good mood=the Cuba Libre, also know as the Rum & Coke!
"Cuba Libre" means "Free Cuba" in Spanish, and I'm no history buff but I thought it was pretty neat that the origins of the drink are said to have come from during the Spanish-American War in...you guessed it...Cuba. Legend has it that a soldier ordered the drink for the first time and enjoyed it so much that they rallied together and toasted with the phrase "Por Cuba Libre!", which was the battle cry they used in their war for independence. The variation between the Carribbean Cuba Libre and the American Rum & Coke is that the Carribbean version usually always includes lime juice and lime, while in the US it's optional.
These cupcakes were a delight to make, and they disappeared so fast!

You can find the blog I found the recipe on here: http://www.coconutandlime.com/2007/01/cuba-libre-cupcakes.html

The only problem I encountered with these cupcakes: the dipping in the middle! I just don't know how to fix this! I've consulted baking websites who say it can be a variety of things: overmixing, undermixing, too much butter/heavy ingredient in the batter, opening the oven too early, the oven being too hot, etc...:( if anyone has any advice let me know!


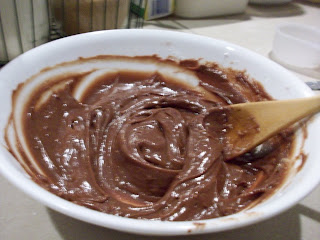
The Cream Cheese Rum Chocolate Frosting was amazing! I didn't leave the cream cheese out long enough so it was lumpy at first, but a quick 10 secs in the microwave fixed that. Also, note the convenient Coca-Cola bowl ;)


And here are my baby Cuba Libre cupcakes!!!